

First off, what is GitHub Pages?
GitHub Pages is a service offered by GitHub that allows you to host your website's files and generate a link that user's can visit. It's one of the easiest ways to deploy your site as a beginner. You've not read the best part yet. For those courageous developers out there who code with a mobile phone, this method is very mobile friendly.
For this tutorial, you'll need just 3 basic things:
- A free GitHub account
- Your files (you can easily create one on GitHub if you don't have one handy)
- A phone or a laptop (any device with an internet connection is fine actually)
To start with this tutorial, you should have your free GitHub Account ready. If not create one here.
(If you already know how to use GitHub, skip to step 3)
Alright. Less talk, more work. Shall we?
Step 1: Create a new repository
A repository on GitHub is like a folder on your device where your files are kept. It's just like that folder on your phone called My Pictures where you keep pictures of your self or loved ones. The only difference is, it is online, and it contains your code files.

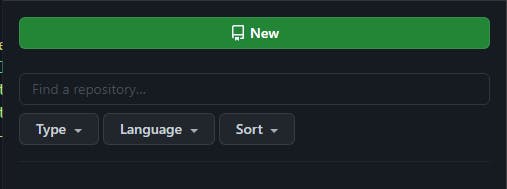
According to the image you see above, the 'New' button is on green and shouldn't be hard to find on your home page, under the repositories tab. If you're on a mobile phone or a small screen device, it should look like this:
Next, you add the name of your repository, and a description if you wish. Then tap on the 'Create Repository' button in green.
You should see a page like this:
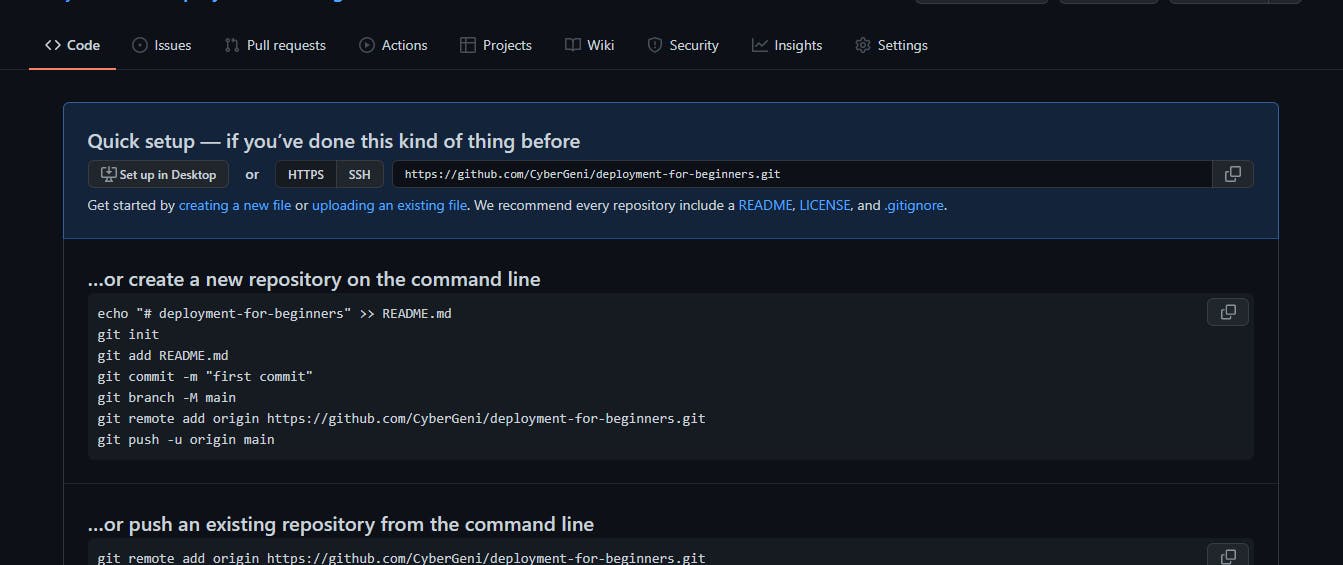 Don't worry about the complex things you're seeing now, we don't really need them at the moment.
Step 2: Add your files
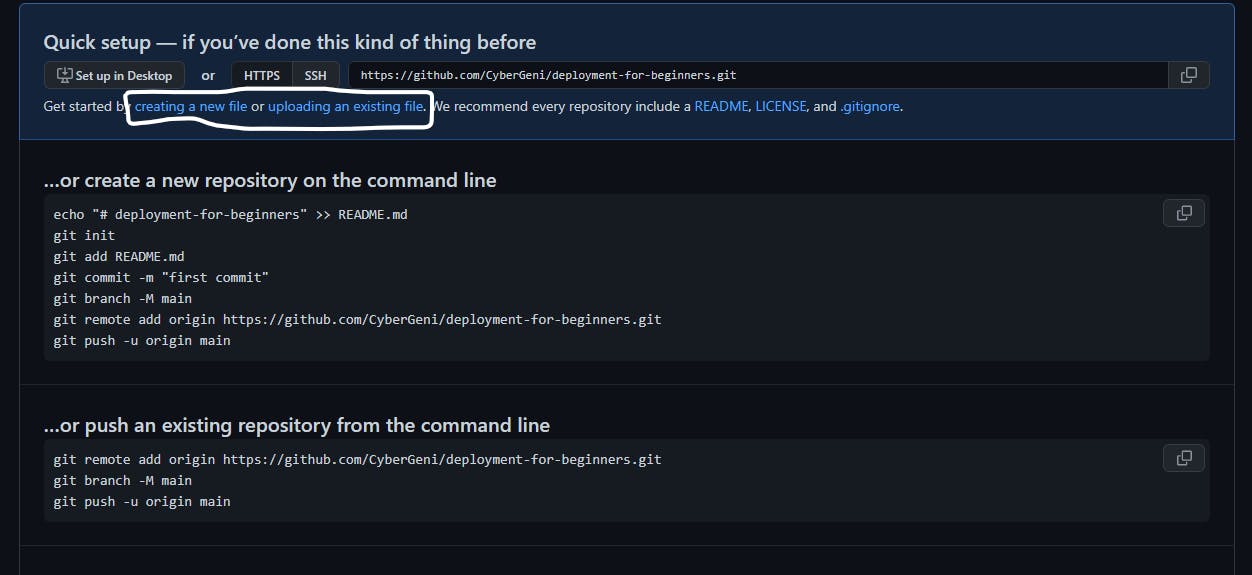
We need the pages we would be displaying on our site, so we need to add our files to the repository. You will see create a new file and upload an existing file. If you don't have a file yet, you can create one. Else, upload your file from your device.
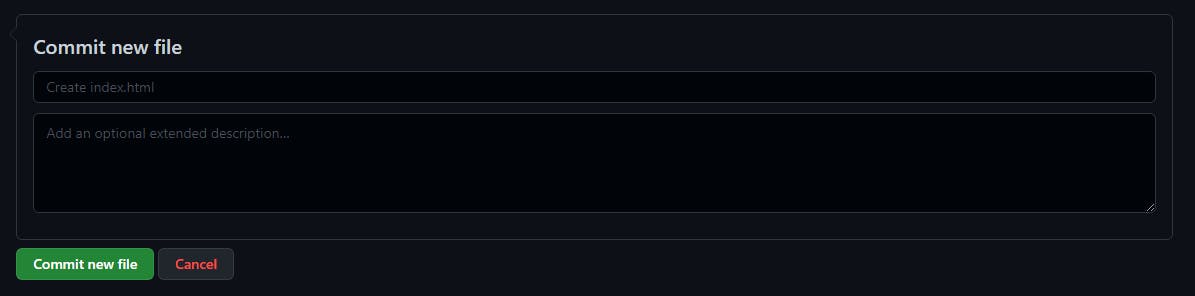
Note: Your HTML file should be named index.html, and it should be in the root (parent) folder, for now. If not, errors can be raised when deploying the site.
So go ahead, add your file. Then commit your file into the repository. Add a commit message like 'first commit'. This simply means you are adding something new to the repository you created. It looks like this:
Great! Now, to the main part.
Step 3: Deployment
Head over to your settings tab. It should be the last tab to your right. You will see a navigation bar on your left. Tap Pages. Then change None to main
 Then save. A link will appear on the top of the page.
Note: It usually takes about 2 minutes for this link to be activated, so please, use that time to sip some coffee while you wait.
And there you have it. A deployed site on GitHub. Easy right?
The next part of this series will cover another free hosting platform. Watch out for it. Till then, peace.